Back in June, google posted on blogspot they would no longer be supporting keyless to their API’s and included updates to the pricing structure for all accounts.
Changes to the pricing structure mean that maximum number of requests that can be made per day using the free tier has been reduced to 25,000 per day. Although this seems like alot, if your app heavily uses geolocation for user experience, this can total up quite quickly. Lets hope Pokemon Go has upgraded to the paid version 😉
If you are like me and use the Google maps in client solutions, you may be faced with this
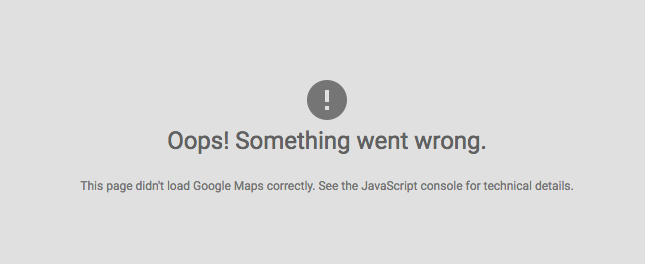
When opening the console log you may get an error like this
“Google Maps API error : RefererNotAllowedMapError”
There are a range of exceptions that can be thrown from the API, all of which have a link in the console log to the specific error. Here is the list of Javascript Exceptions
Referer Not Allowed Map Error, indicates that a request to the API has been made, but the URL of the site has not been added to the domain list to grant access.
In you solution, check your access to the API. Anyone using V3, access should look like this. Notice that there is no API key. You will need to append the script tag you are using with your new API key.
Before you continue, ensure that you have an active google account and access to the server and web root. You will need to upload a file.
How to create a new Key
Log into https://console.developers.google.com/flows/enableapi with your google account and read and agree the terms and conditions.
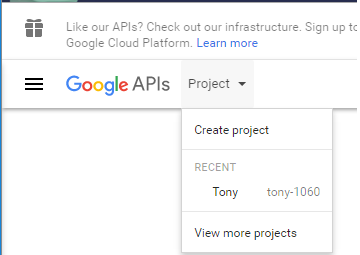
The opening menu will allow you to create a project for all the subdomains for your project. This can be done in the project dropdown menu.
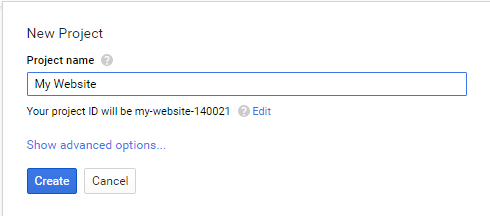
Name the project appropriately.
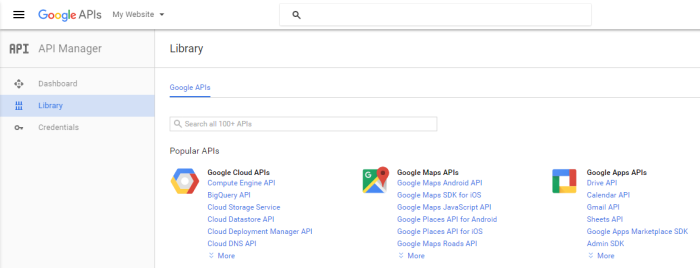
The API Manager dashboard will then appear where you can enable API access for each product individually. We will be using the “Google Maps Javascript API”.
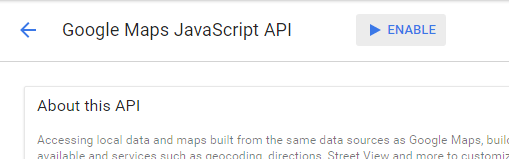
Select Google Maps Javascript API.
Click the enable button
This landing page contains all of the statistics for you API usage. You now need give access to your credentials to use the service.
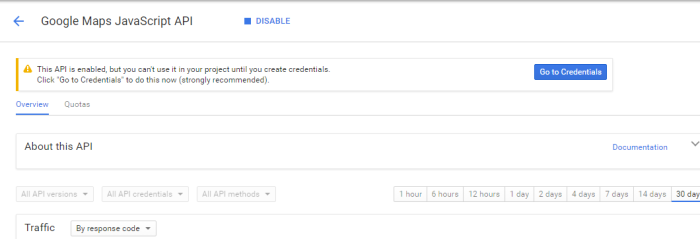
Click the “Go to Credentials” button, which will redirect you and open a dialogue box
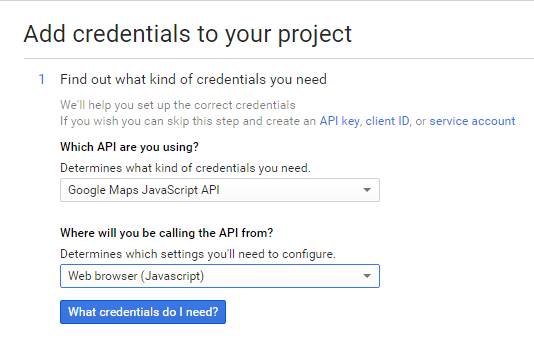
Ensure that the two drops match and click “What credentials do I need?”
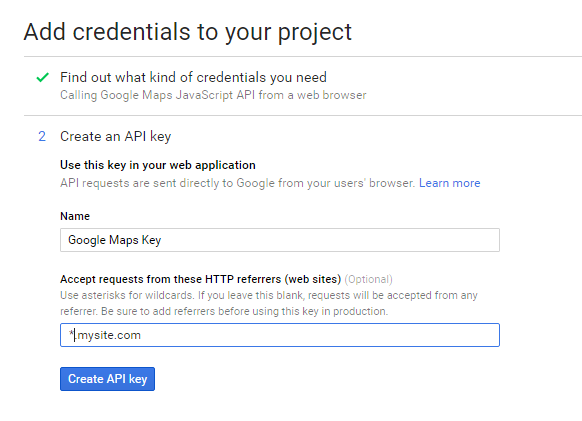
Give the credentials a name.
You will need to specify the domain name that will be used with the API. Call calls are made across HTTP. Using multiple domains for this project can be achieved by adding prefix of an asterisk.
Click “Create API Key”
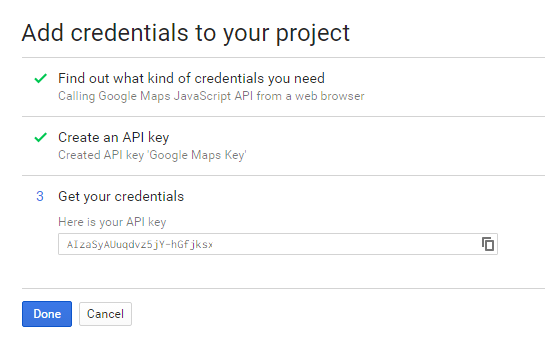
Take a copy of the key, but you can see it on the next page
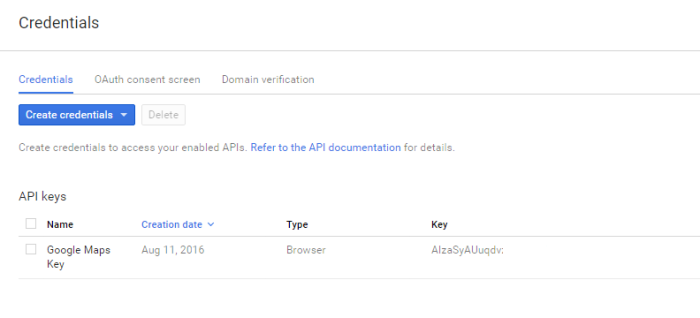
You will need to associate every domain with the key. Click “Domain verification”.
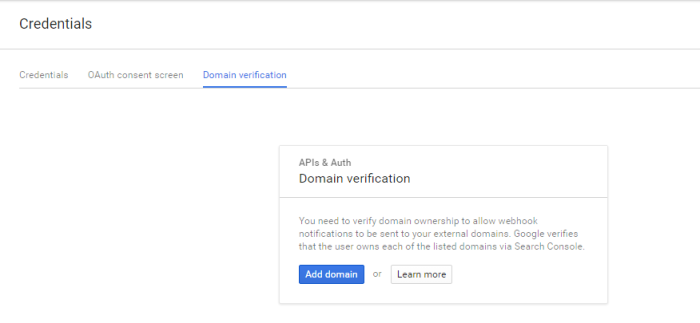
Once the pop up has loaded click “Add domain” and add a full domain name.
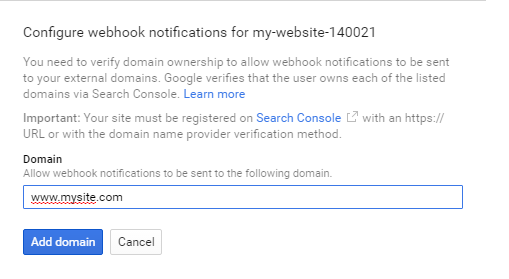
This will create a web hook to prove you own the domain. Enter a name and click Add domain. You will then be prompted to prove that you own the site.
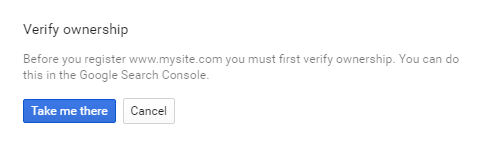
Click “Take me there”
This is where is gets a bit tricky.
DON’T CLICK VERIFY.
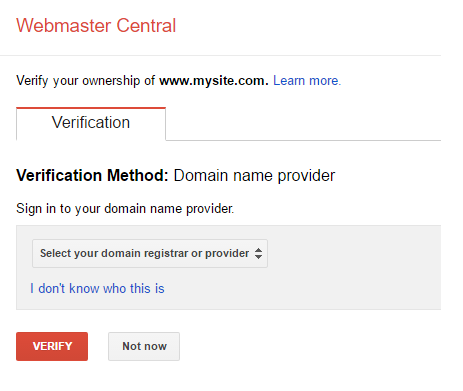
You have now have two options to prove your ownership of the domain either a domain name provider or HTML file upload.
The domain name provider requires you to change the DNS record to include the verification number. This is the slower option as the DNS may need to propagate around the internet, which could take up to 48 hours.
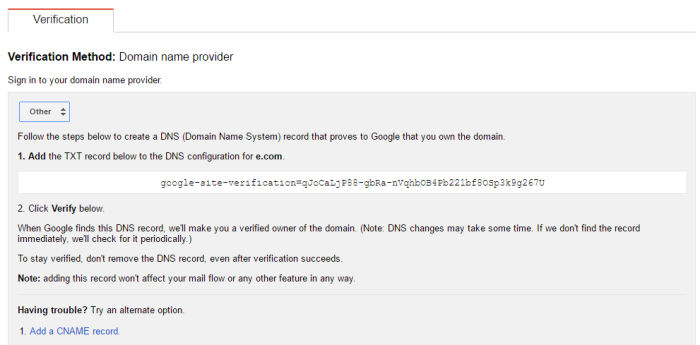
The second option is HTML file upload. This is the quicker option, but requires you to have access to the root of the web site.
We are going to use the HTML file upload option.
To gain access to the correct menu, click on the back arrow in the top right of the screen to be redirected back to webmaster central.
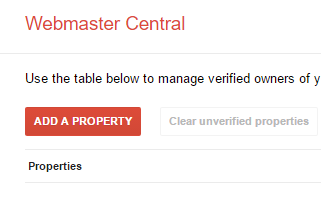
Click “Add A Property” and enter the domain of your site. You will the be redirect to the HTML file upload option.
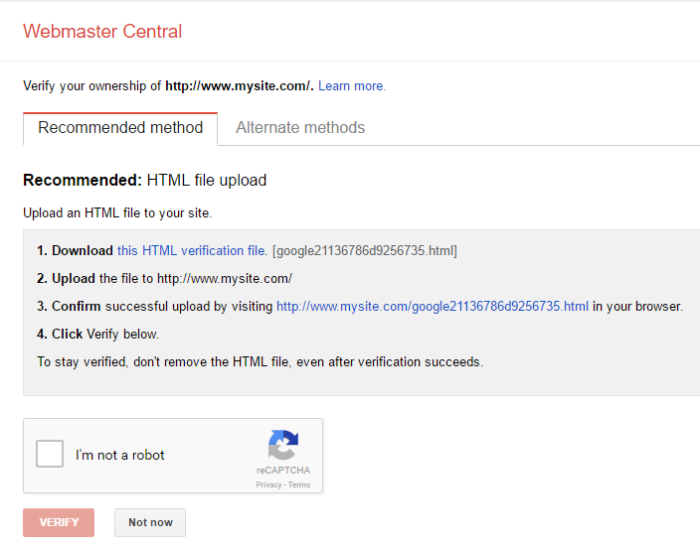
Follow the steps above and upload the file to the root of your website. Verify that you are not a robot and click “Verify”.
If you are running multiple sub domains, repeat this process with all the sites. However, the file will be the same for each.
Now you have created an API key, you will need to add it to the API script call in your website. Add in the key as a query string parameter and deploy to all of your domains.
src="">https://maps.googleapis.com/maps/api/js?v=3&key=">
Once you have completed this, it should take roughly 5 minutes for everything to kick in. Now refresh the page with google map and the map
